We use ploi.io for managing our server estate and its been an amazing SaaS tool for us.
In an effort to clear down a few legacy systems, we found ourselves needing to migrate a bunch of old websites onto the ploi.io managed estate.
Here are the high level steps we use to migrate a WordPress site from CWP (Centos Web Panel) to ploi.io.
Take a full backup using All in One WP Migration.
- Install and activate All in One WP Migration.
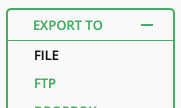
- Run a full export

- Export to file
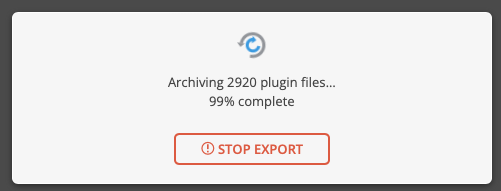
- Once done, download the archive and save locally on your device.

At this point we normally save that backup to an alternate location should we need to return to it again in the future.
Create Web Hosting Space on ploi.io
- Login to ploi.io
- Select the server where you want to migrate the site to.
- Add the domain (use www if you have to)
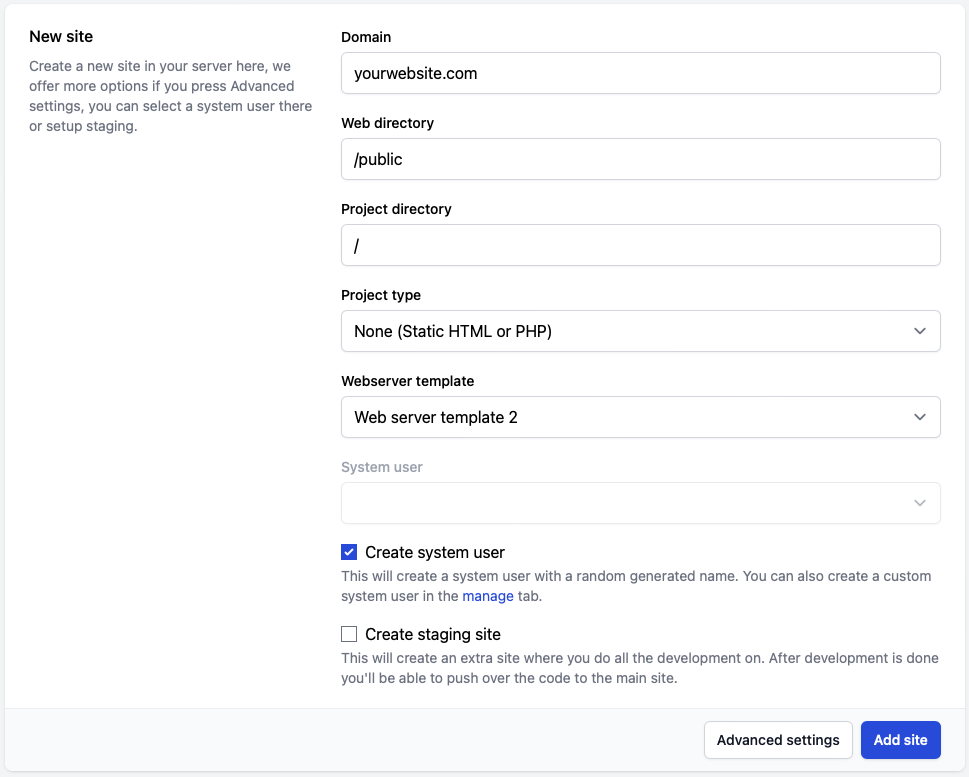
We normally add a local host entry of the website to the device we’re on pointing it at the new host.
for example:
# Websites

123.123.123.123 yourwebsite.com www.yourwebsite.com
This allows us to move a site with minimal downtime (almost none).
Install WordPress using ploi.io
You can now install WordPress in ploi.io.
if you have created a local host entry on your device – you’ll be able to configure WordPress as well. If not you would have to make DNS changes at your name registrar for this to work.
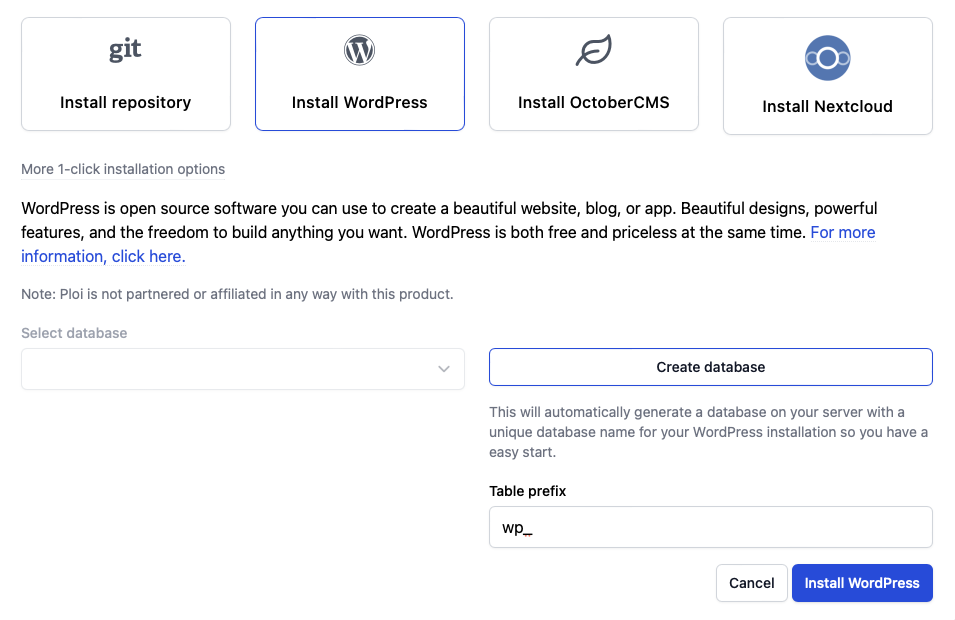
After a few seconds, you can now run the WordPress installer by gaing to your web address.
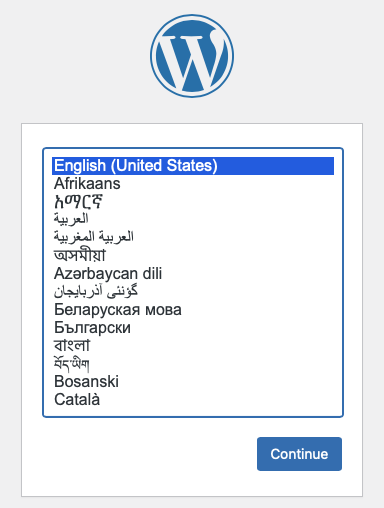
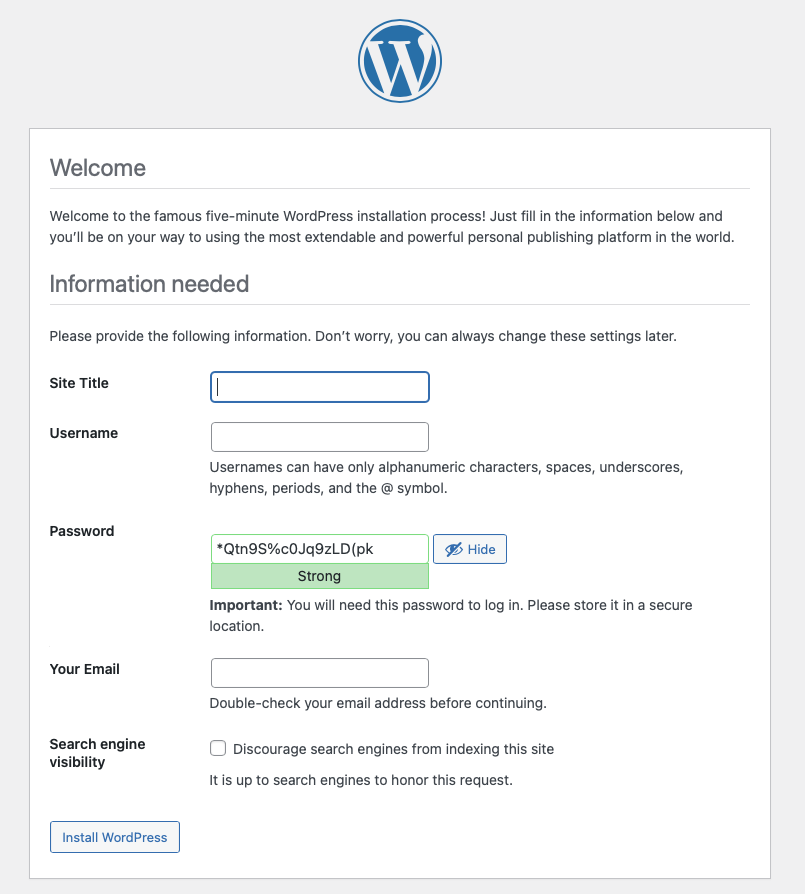
Once installed, click login and sign in with thecredentials you just set up.
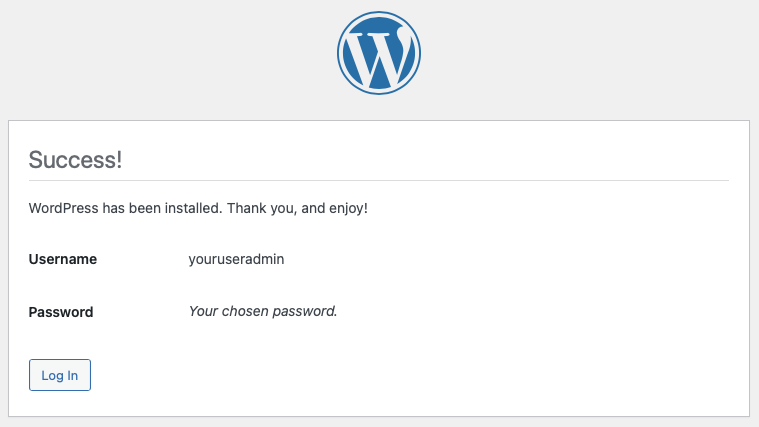
Restore your backup to your new web host.
- Install and activate All in One WP Migration.
- Run a full import

- Import from file

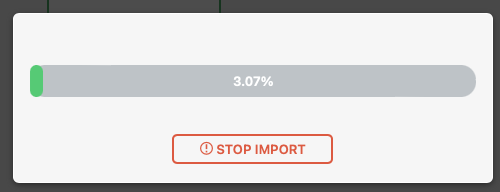
- Once done, confirm that you’re happy to overwrite.
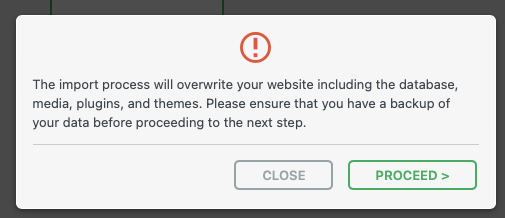
- Once imported successfully, you will have to re save permalinks. Follow the link in the dialogue window.
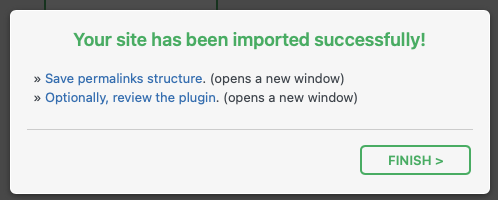
- you will have to log in again (using your site’s original credentials). Click save in the permalinks section of WordPress.
Your site has now been successfully migrated, if you used the local host file method, be sure to go over your site and run a health check to make sure everything is as expected.
You may also need to request a new SSL certificate if you’re using one (Which I hope you are).
